(and other things to do with your sweet Air Supply vinyl collection)
 |
| THE THINGS GO HERE! |
So we got home, get it all set up, and then looked at the nine metric tons of cardboard packaging and thought there HAD to be a way to make something useful with all that. And, while open shelving is great, sometimes you need closed storage. Just a place to dump things randomly so you don't have to look at them. Drawers, for example. To do this, I gathered some tools:

Some cardboard packaging, burlap I'd bought years ago for Thanksgiving crafts, tape, a box cutter, ruler, duct tape, spray adhesive, etc. I also used a sharpie for measuring, and a boyfriend to do most of the cutting. It turns out if you let a man do the cutting, it will come out much neater.
For boxes that fit EXPEDIT completely with no gaps you will need three pieces of cardboard that measure 12.75"x14.75" for the bottom and sides and two 12.75"x12.75" for the front and back.
 |
| It would make more sense if this picture were rotated, but it's not. |

Once the box is made, it's time to make it less like packaging. Lay it out on burlap (any fabric would work, I just wanted something that looked textured and was cheap) and then cut around the shape, leaving about an inch and a half all around to fold over.
I suggest taking the next step outside because if anything smells worse than burlap, it's spray adhesive. Follow the directions on the can to adhere your fabric. I applied spray to both the cardboard and fabric, waited a minute for it to become tacky to the touch, and then carefully put them together and smoothed out any bubbles.
 |
| Again with the weird rotation of the photo, Blogger? |
Flip it over and clip the corners to the cardboard.
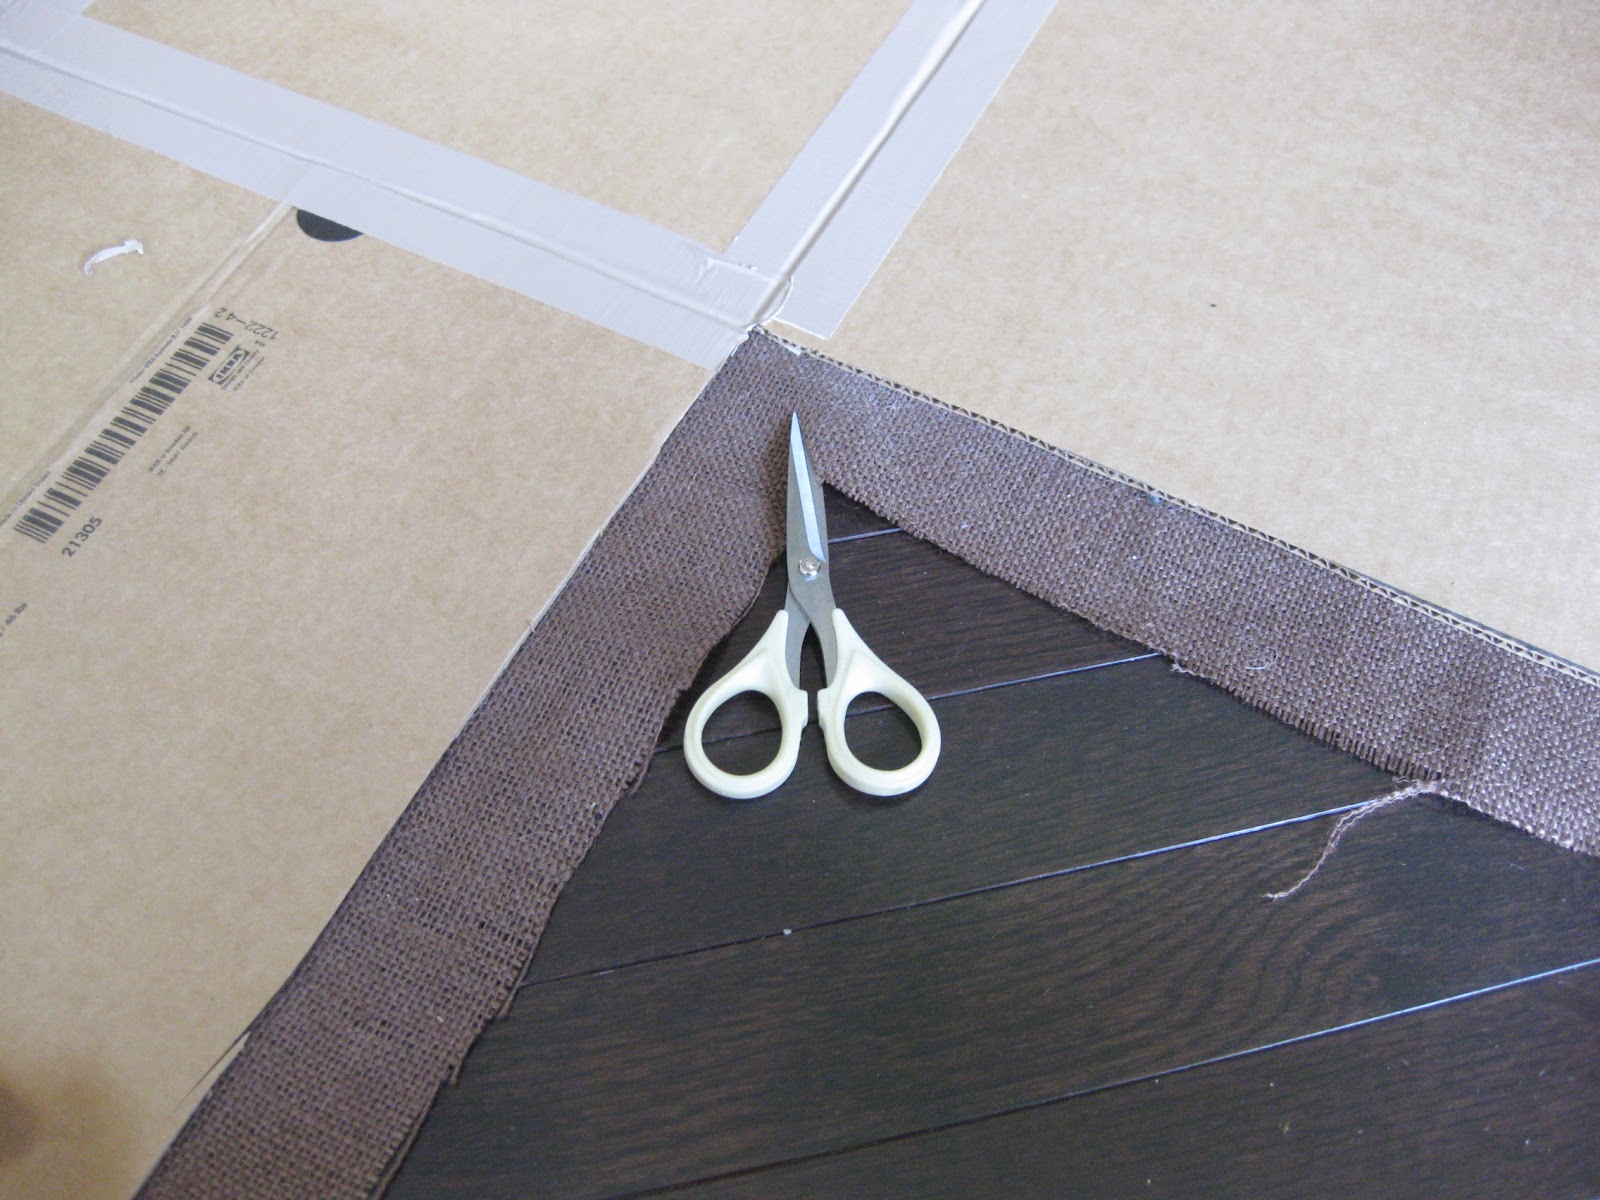 |
| Snip, snip! |
 |
| Yeah, there's a reason no one makes clothing out of cardboard. |
With this step complete I was able to move on to making the plus sign more, er, box-like. Again with the spray adhesive on both the inside of the front and back flaps and the outside of the fabric "tab" still hanging off the sides.
 |
| Eh, you'll figure it out. |
Once it becomes tacky, stick it all together.
 |
| They're boxy, but they're good. |

You could probably solve this by duct taping up the corners inside, but I decided to go a different route. Again, using a matching thread, I stitched through the corners; cardboard, burlap, duct tape and all.

Do this for each edge et voila! I also added handles leftover from cabinets we removed in the kitchen to make it blend in with the official EXPEDIT drawers. Those are $35 each. Mine were made from things I already had sitting around the house. PRACTICALLY FREE! SCORE!
 |
| Think of all the junk I can hide in there! |
You might have noticed that the EXPEDIT is perfect for vinyl record storage. So, likewise, vinyl record covers are also perfect for this project. See the lines here? It's almost exactly the same size as the 12 3/4" front and back pieces.
 |
| WHY LET THIS SIT WHERE NO ONE CAN APPRECIATE HOW VISUALLY STUNNING IT IS?!?! |
 |
| Don't worry! We have another copy. This one was scratched! |
Now all that's left to do is figure out what to put in all those boxes!
 |
| - FIN - |
I so could have used this several weeks ago when I decided I must have drawers for my LACK shelves. I'll keep this on hand in case I decide the pots and other random shit no longer do it for me.
ReplyDelete