Of course, I have encouragement in this. When we are watching TV together (sans kids, of course) my husband will say helpful things to the moms in commercials for fast food or frozen pizza such as, "You're a bad parent!" And, I mean, seriously, who buys Pop Tarts and Pizza Rolls these days? I'd say you might as well give a kid a can of Crisco and a spoon, but Crisco doesn't have transfats, and I'm pretty sure Hot Pockets still do.
Sometimes my husband or kids want to take it a step further than I want to, though. Veggie burgers, for example. Yes, it's still highly processed frozen food, but shouldn't moms feel good about feeding their kids veggie burgers instead of beef? And of course this week when we were doing the meal planning, the kids requested veggie burgers - but home made, of course. "Ugggghhhhh," I'm thinking in my head. Just "uggggghhhh." I've done that before and it's so much WORK. But of course I'm a sucker, and the advantage of doing all the work is that you can make a lot at once and freeze them so veggie burgers become the easy pop-in-the-oven meal they were meant to be.
So here's how I made veggie burgers that kids love out of things that kids think they hate. Wear comfortable shoes.
 |
| You're gonna need beans. |
BUT WAIT - THERE'S MORE!
 |
| MORE BEANS?! |
Yep, more beans. This is a one pound bag of chickpeas that got the same treatment, plus a splash of lemon juice just at the end.
Now, honestly you could probably use canned beans for this. I'm not sure because I don't buy canned beans, nor anything else that comes in a can other than black olives. Dried beans are much cheaper, tastier, and you can control the sodium content. Plus I had enough from both of these to freeze leftover batches of beans which will make pulling together curry or falafel or tacos a snap. And in fact, if you have frozen beans from other projects, just thaw those out for this. It doesn't matter what kind of beans, anything will work!
But wait! There's still more (work)! So much more (soul crushing, standing on your feet work)!
To get a meaty flavor, we're going to need some natural glutamates. Mushrooms are an obvious choice, but my kids all think that they hate them, so I sent them outside to have an epic Nerf battle while I did this part so no one would question what was in the veggie burgers.

This is about a pound of mushrooms and one large onion, both roughly chopped, seasoned with salt, pepper, Worcestershire sauce (you could use the vegan kind if you are more strict about these things than I am) and a bit of reduced-sodium soy sauce. Cook that down and then crank up the heat a bit to get some nice caramelization going.
MEANWHILE...

Soak 1 cup of medium bulgar in 1 cup water. I've tried a couple of things to supplement the texture of veggie burgers, but I like bulgar the best. The commercial products rely on TVP, which I'm sure is fine but I rarely keep it on hand. Brown rice also works well, but if you use that you're also going to have to cook some brown rice, and who needs that?
Move the mushrooms and onions to a food processor and add the softened bulgar to the same pan. That way it can soak up all the flavor left behind.
Now comes the easy part, assuming you have a good food processor. Pulse the onions and mushrooms till well chopped, then add about 3 cups of the cooked pinto beans and a cup and a half of chickpeas. Really just cram whatever you can into your particular food processor. Blend that a bit then toss in the bulgar.
Once it's mixed, scoop it out into a bowl.
Now, here I have a confession to make, but before that a short memory. At one point my mom told me that my grandmother apologized to her for something not being home made since she had used the food processor to make it. And we can all agree that that's pretty crazy, right? Using a tool doesn't negate all the rest of the effort that goes into making something at home. So keep that in mind when you look at the next picture...

YEAH YEAH YEAH SO I USED SOME PANKO. GAH.
Once I watched an episode of Good Eats where Alton Brown talked about spraying dough into an electrified screen to make it, but here he explains it a little differently:
In this recipe they really do add a lot of good texture, in addition to absorbing excess moisture to make your patties more patty-shaped. I stirred in probably two cups of panko along with two fresh eggs. If you don't have fresh eggs you might want to taste for seasoning at this point, adding salt pepper and garlic or onion powder as necessary.
 |
| Spatula from Dollar Tree. Pyrex bowl inherited from above referenced grandmother! |
Stir it all together and then it's time to make the gloopy mess ready for those nice, homemade whole wheat buns I'm sure you baked already. You could shape it by hand... OR

REMEMBER THESE? I'm pretty sure as soon as you had a baby in the 80s, the hospital handed you one of these. Every mom had one. And probably twenty or so of the little patty storage Tupperware containers with beige lids that could be frozen! And of course when you use them for meat, the beef shrinks up upon cooking so that you have tiny little hamburgers dwarfed by even standard issue grocery store hamburger bungs. Luckily for us vegetarians, beans don't shrink.
Spray every surface of this thing and a cookie sheet with non-stick cooking spray. Add about a 1/3 cup portion of the mix to the mold and press it with the plunger. There is no neat way I've found to de-veggie burger the thing other than just slamming the open side down onto the cookie sheet. Re-spray and/or wipe out the mold pieces as necessary.
 |
| Where's the beef? STILL ATTACHED TO THE COW! |
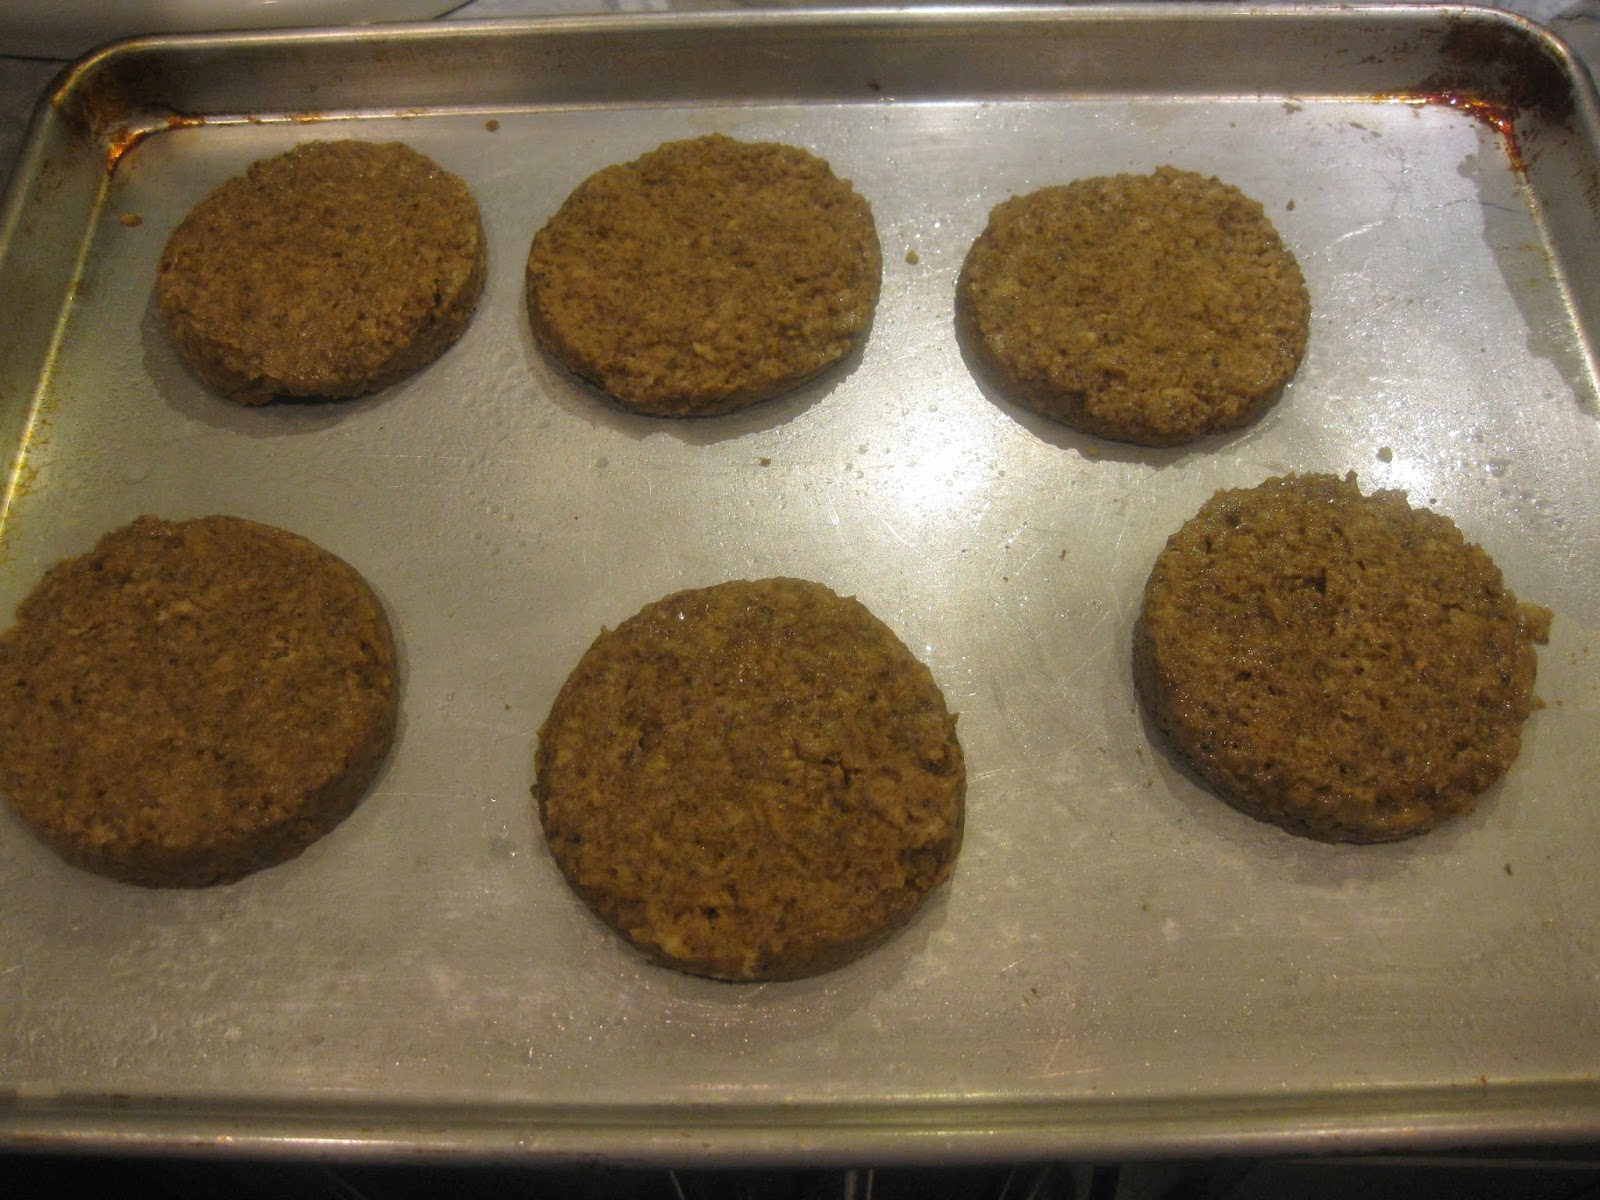
And 289375892375892370459872345 steps later, VOILA! Veggie burgers!

Wherein I cover up the fact that I am staggeringly bad at food photography with a series of online photo filters.
Homemade Veggie Burgers
Ingredients
2 lbs Pinto beans, cooked according to package directions
1 lb Chickpeas, cooked according to package directions
1 large onion, roughly chopped
1 lb. mushrooms, roughly chopped
1 tbsp. Worcestershire sauce
2 tbsp. soy sauce
2 tbsp. olive oil
1 cup medium bulgar
2 cups Panko breadcrumbs
2 eggs
1 tsp. garlic powder
1 tbsp. onion powder
salt and pepper, to taste
Directions
1. Cook beans, seasoning with olive oil, salt, pepper, garlic and onion powders to taste.
2. Add 1 cup boiling water to bulgar, cover and let sit.
3. Over medium-high heat, saute mushrooms and onion in olive oil until nicely browned. Add Worcestershire and soy sauces, plus salt and pepper.
4. Add mushroom mixture to bowl of food processor and pulse to chop. Add several cups of beans, as many as will fit. You may have to work in batches, depending on the size of your food processor.
5. In pan used for mushrooms, add bulgar and toast lightly. Add to food processor.
6. Remove to a bowl and stir in eggs and Panko, tasting for seasoning.
7. Shape into patties and freeze till firm.
Bake 20 minutes in 400 degree oven, turning once if desired. Makes 24 veggie burgers.
And while I still think the frozen kind are pretty good, it's nice to be able to pronounce everything that's in mine. Just what is disodium inosinate anyway?
From the Morningstar Farms Grillers Originals website:
TEXTURED VEGETABLE PROTEIN (WHEAT GLUTEN, SOY PROTEIN CONCENTRATE, WATER FOR HYDRATION), EGG WHITES, CORN OIL, CALCIUM CASEINATE, CONTAINS TWO PERCENT OR LESS OF MODIFIED TAPIOCA STARCH, ONION POWDER, CANOLA OIL, TRIGLYCERIDES FROM COCONUT OIL, HYDROLYZED VEGETABLE PROTEIN (CORN GLUTEN, WHEAT GLUTEN, SOY PROTEIN), DEXTROSE, SALT, SOY PROTEIN ISOLATE, AUTOLYZED YEAST EXTRACT, SUGAR, NATURAL AND ARTIFICIAL FLAVORS FROM NON-MEAT SOURCES, CARAMEL COLOR, CULTURED WHEY, MALTODEXTRIN, GARLIC POWDER, SPICE, CELLULOSE GUM, DISODIUM GUANYLATE, DISODIUM INOSINATE, SOY SAUCE (WATER, SOYBEANS, SALT, WHEAT), VITAMINS AND MINERALS (NIACINAMIDE, IRON [FERROUS SULFATE], THIAMIN MONONITRATE [VITAMIN B1], PYRIDOXINE HYDROCHLORIDE [VITAMIN B6], RIBOFLAVIN [VITAMIN B2], VITAMIN B12), SESAME SEED OIL, CELERY EXTRACT, SOY LECITHIN.